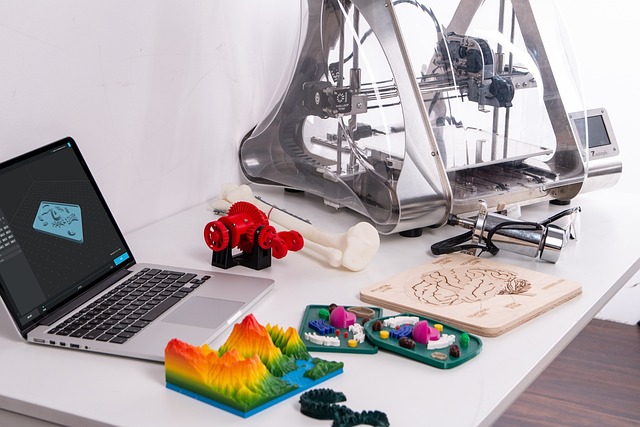
The world of 3D printing has opened up a realm of possibilities, allowing creators to bring their digital designs to life.
However, the inherent nature of layer-by-layer printing often results in prints with a rough and textured surface. Fortunately, there are numerous techniques available to smooth 3D prints and enhance their overall quality. In this blog post, we will explore step-by-step methods and valuable tips to help you achieve smooth and professional-looking 3D prints.
As the largest Creality reseller in Canada, 3D Printing Canada understands the importance of providing top-notch after-sales support to its customers.
Table of Contents
Why Smooth 3D Prints?
When it comes to 3D prints, surface smoothness plays a significant role in their overall appearance and quality.
Smooth surfaces not only enhance the aesthetics of the print but also make it easier to apply post-processing techniques such as painting or coating. A smooth finish can elevate the professionalism of your prints, making them more appealing and visually striking.
3d printing space is the Growing 3d printing forum you must have a look.
Preparing for Smoothing:
Before diving into the smoothing process, it’s essential to gather the necessary tools and materials.
Some common tools include sandpaper of various grits, epoxy putty or filler materials, a heat gun or flame, and solvents like acetone.
It’s also crucial to understand the properties of the print material you are working with, as different materials may require specific techniques for effective smoothing. Additionally, ensure that your print is fully cured or cooled before beginning the smoothing process for optimal results.
Manual Smoothing Techniques:
One of the most common and effective methods of smoothing 3D prints is through manual techniques such as sanding.
Start by selecting the appropriate grit sandpaper based on the surface roughness of your print. Begin with a coarser grit and gradually work your way up to finer grits, using circular or linear motions to smooth out the surface.
This progressive sanding process will help eliminate layer lines and imperfections, resulting in a smoother finish.
In cases where there are gaps or imperfections on the print, filling them is necessary before smoothing. Epoxy putty or filler materials can be used to fill these areas, creating a seamless surface. After filling, sand the filled areas to blend them with the rest of the print and achieve a consistent smoothness.
Heat-based smoothing techniques, such as using a heat gun or flame, can also be effective for certain materials. This method involves applying heat evenly to the print, which softens the surface and allows for the layer lines to melt and blend together. Exercise caution while using this technique to prevent warping or damaging the print.
Chemical Smoothing Methods:
Chemical smoothing is another popular approach to achieve smooth 3D prints. Acetone vapor baths are commonly used for smoothing prints made of ABS or other acetone-soluble materials. By placing the print in a sealed container with a small amount of acetone, the vapors produced will dissolve the outer layer, resulting in a smoother surface. It is important to follow safety guidelines and ensure proper ventilation when working with acetone.
Solvent-based solutions are also effective for smoothing prints made of certain materials.
Choose a solvent compatible with your print material and apply it using a brush or sponge. The solvent will soften the surface, allowing you to smooth out imperfections. After applying the solvent, allow sufficient drying time before handling the print.
Electrostatic Smoothing:
Electrostatic smoothing is a relatively newer technique that utilizes specialized devices to achieve a smooth finish. These devices generate an electrical charge that attracts loose particles and smooths out the surface of the print. Follow the manufacturer’s instructions and safety guidelines while using these devices for optimal results.
Post-Smoothing Finishing Techniques:
After applying the smoothing techniques, it’s important to clean the print thoroughly to remove any residual particles or chemicals. This can be done by rinsing the print with water or using a cleaning solution. Once cleaned, you can further enhance the appearance of the print by applying a primer and paint. The primer helps create a smooth base, while the paint adds a professional and polished finish.
Troubleshooting and FAQs:
- What if I accidentally remove too much material during sanding? It’s important to be cautious while sanding to avoid removing excessive material. If you accidentally remove too much, you can try filling the area with epoxy putty or filler material and sanding it again to achieve a smooth surface.
- Can I use smoothing techniques on flexible or rubber-like filaments? Smoothing techniques such as sanding or heat-based methods may not be suitable for flexible or rubber-like filaments. However, chemical smoothing techniques with solvents can still be effective for these materials.
- Is there a risk of warping or deforming the print during chemical smoothing? When using chemical smoothing techniques, especially with acetone, there is a possibility of warping or deforming the print. It is important to monitor the print closely during the process and ensure proper ventilation and safety precautions.
Tips for Successful Smoothing:
- Take your time and be patient throughout the smoothing process.
- Practice on sample prints or less important models before working on critical prints.
- Prioritize safety and use appropriate personal protective equipment (PPE) when working with chemicals or heat.
- Refer to manufacturer guidelines and recommendations for specific materials and products.
Conclusion:
Smoothing 3D prints is a rewarding process that can greatly enhance the overall quality and aesthetics of your prints. Whether through manual sanding, chemical smoothing, or electrostatic techniques, there are various methods available to achieve a smooth and professional finish. By understanding the techniques, gathering the necessary tools, and practicing patience, you can transform your 3D prints into visually striking and polished objects.


